
This was a fun little project that added some serious spring our bedroom. It was super easy, and only took a couple of hours. I'd seen a few posts here and there about diy upholstered headboards, and after seeing a full tutorial by the amazing diy-ers @ young house love (check our their house tour w/ full before and afters - it blew me away!) I had to make my own.
Their tutorial is great, but I made a few changes w/ each step:
1. After measuring the size of our future headboard, I was off to pick up fabric and batting. When I got there, I was discouraged by prices and selection, but was relieved to find a damask pattern I liked in a color scheme I really love - and it was on major sale. I wouldn't recommend leaving the home fabrics area, the fabrics are thicker and more durable so this price difference is worth it. The batting I chose was a high loft synthetic.
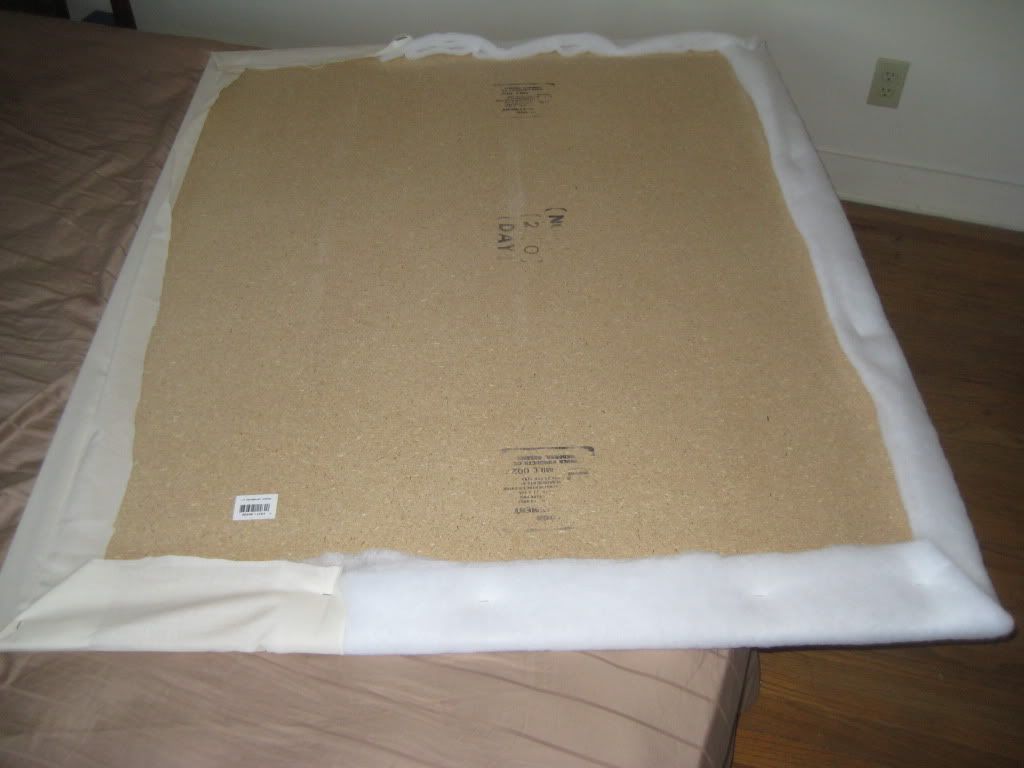
2. Next, Jared and I were off to Lowe's. We considered getting a piece of plywood, but didn't like the flimsiness or prices of what we saw. So we went with a very inexpensive particleboard, and had it cut down to the proper size - which was free with the purchase of the board. After Jared somehow got both pieces (I'd like to make something else with the other piece, since I did buy it!) to wedge into my teeny car, we headed home.

3. To save on batting/fabric/sanity, I chose to make the width of the headboard shorter than the bed. Since you can't see the bottom, both the pretty fabric and the batting end just under the top of the mattress. I used an adhesive to keep the batting in place, then stapled the back edges. (the fabric at the bottom, which is the left in this picture, is a muslin that I already had, just so the particleboard is covered.)
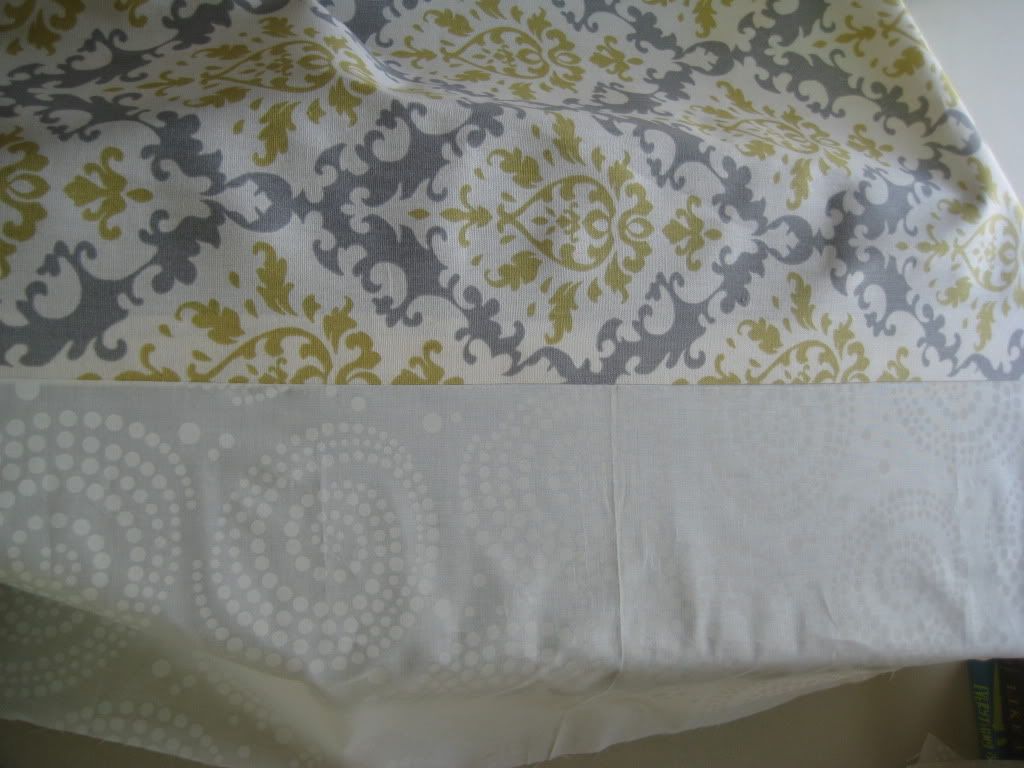
4. I had a little dilemma with my fabric selection. I didn't realize that the fabric was actually not wide enough when the pattern was facing the right direction. Rather than try to sew borders in the same fabric, I paired it with this circular white fabric for more contrast. After sewing them together, I turned the sewn piece over and ironed them flat in the same direction - behind the patterned piece, not the white. Then I flipped to the front and ironed some more to make the seam nice and flat.

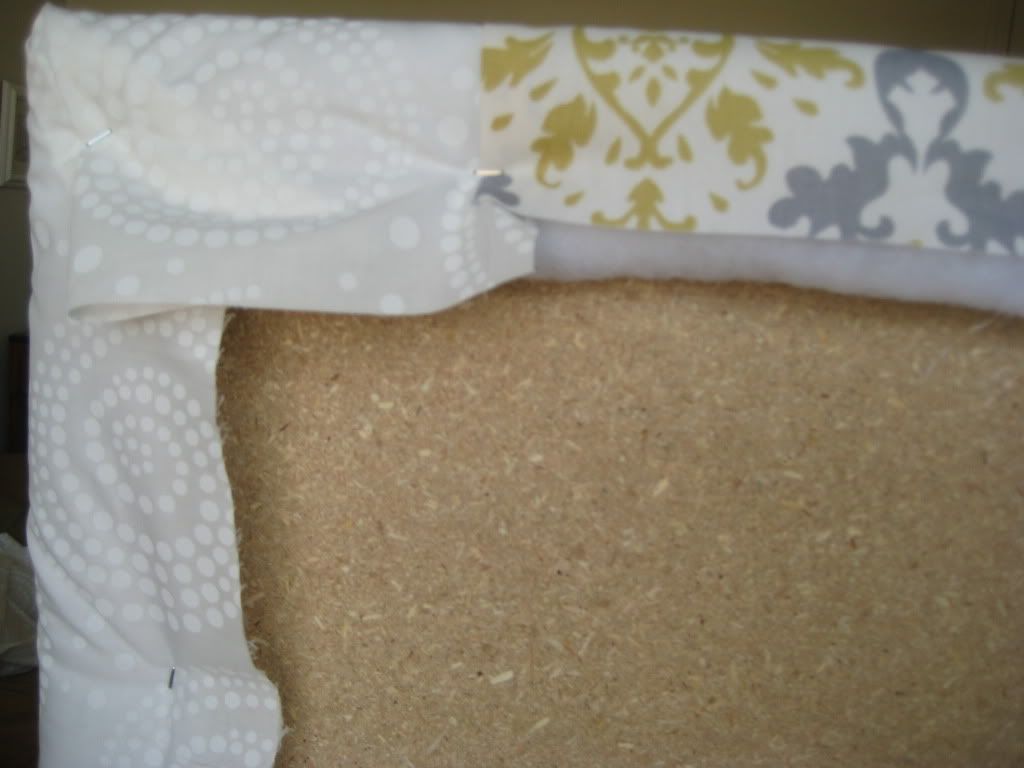
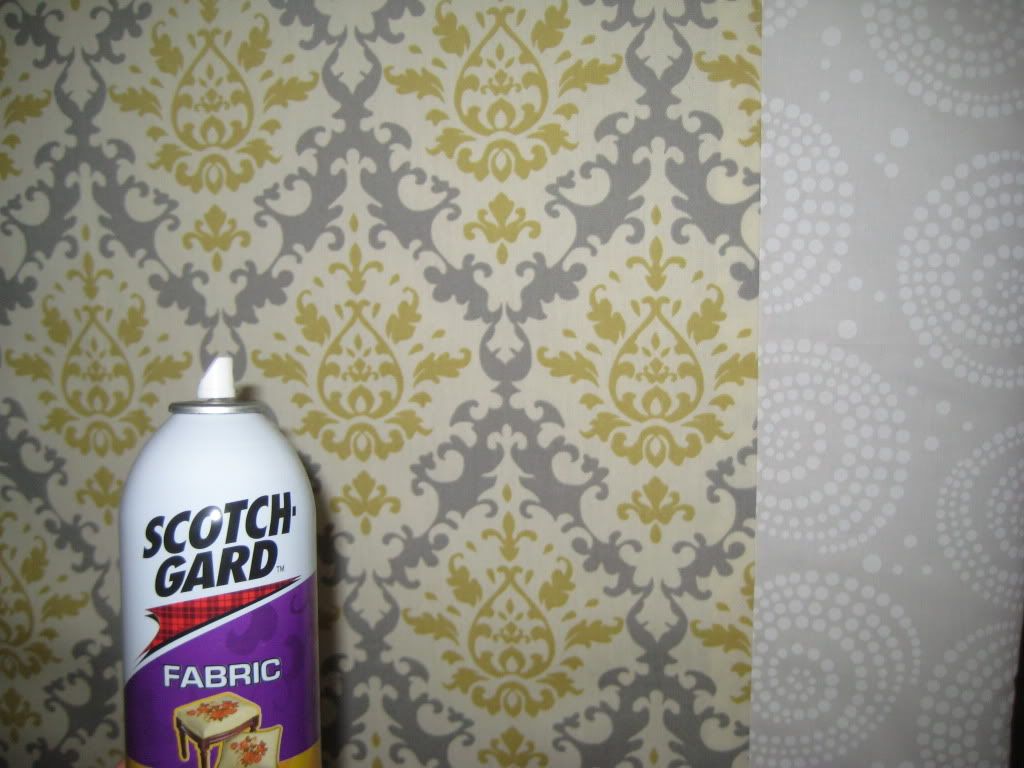
5. Next, I draped the finished piece over the board nice and centered, and stapled the corners and edges. Oh, and to keep it lookin' good, I made sure to spray a fabric protector.
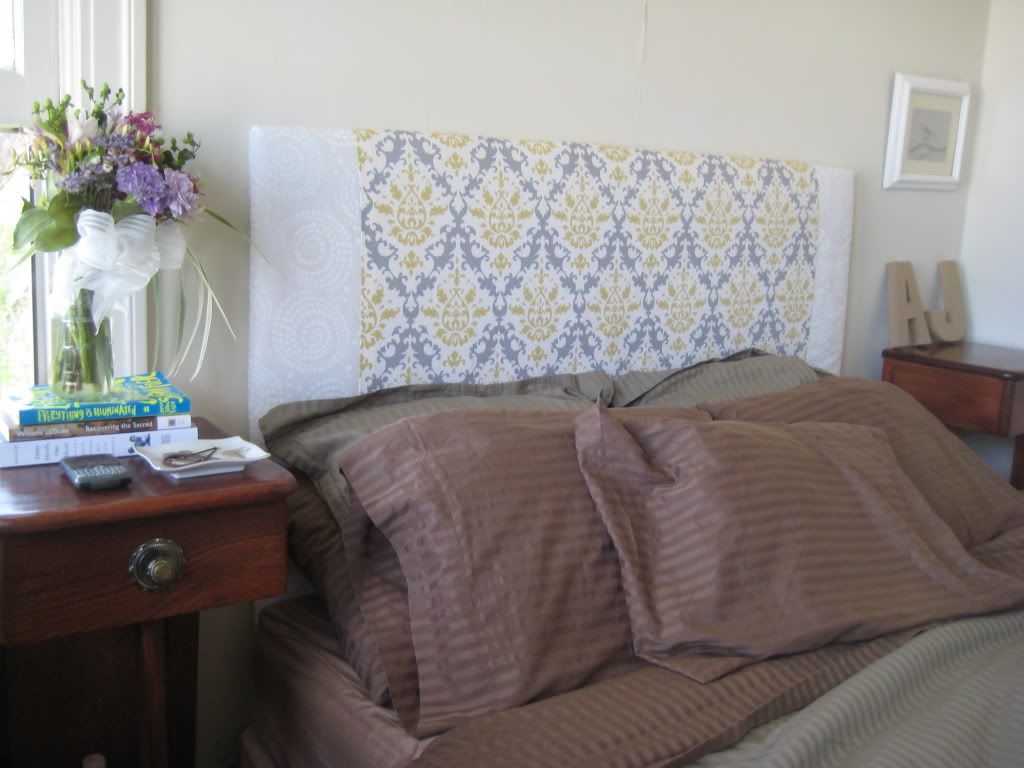
6. After getting it in place, viola! Completed upholstered headboard!

That bedding doesn't quite complement the headboard, so swapping that out is in the works. I'll have to post a picture of the improved version. It was a lot of fun, and Jared was quite impressed. (Thanks for the help and encouragement, Jared!)

1 comment:
I love your craftiness :)
Post a Comment